Simon Bryan
Amazing results! My caravan roof was leaking badly and this kit fixed it completely. The thermal coating really works - much cooler inside now.
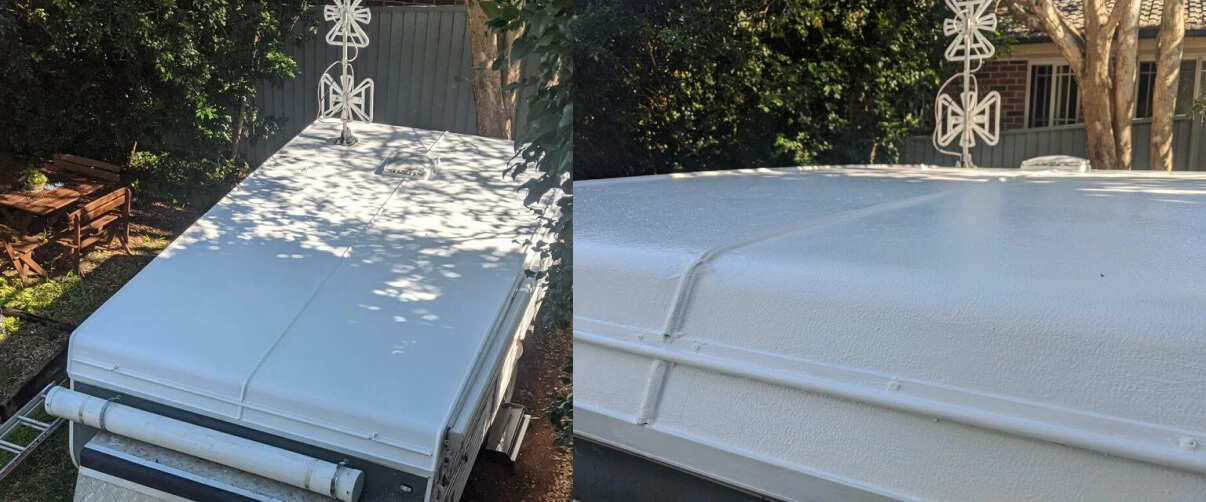
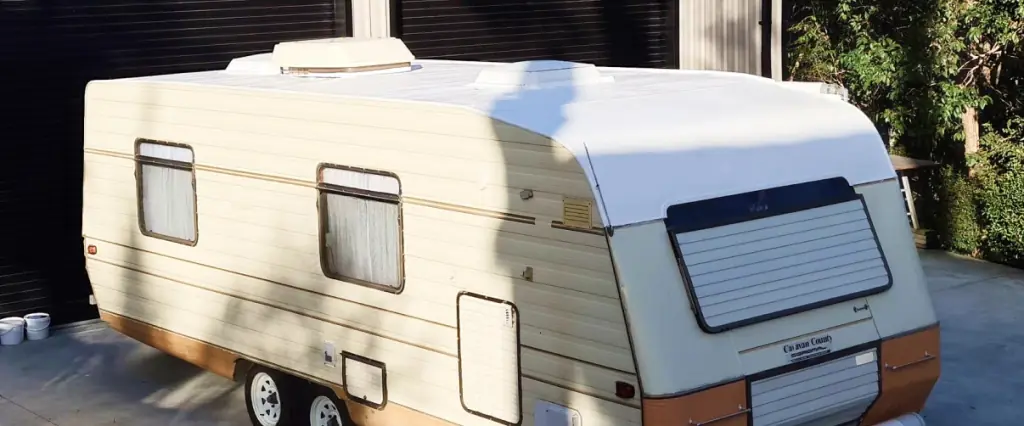
Caravan roof leaking, rusty, or worn out?
Too hot in the Aussie sun?
Time to fix it ANYONE CAN DO IT.
Trusted By Industry Leaders:
Complete step-by-step video tutorial for waterproofing and thermal coating your caravan roof.

Enter your caravan length, pick a colour, and you're done.
Non
Toxic
Eco
Friendly
Extremely
Durable
Highly
Flexible
High
Quality
VOC
FREE
Just enter your caravan length and we'll build your kit automatically.
Minimum 0.1 m. Use comma or dot for decimals. Arrow keys adjust by 0.1. Hold +/− to repeat.
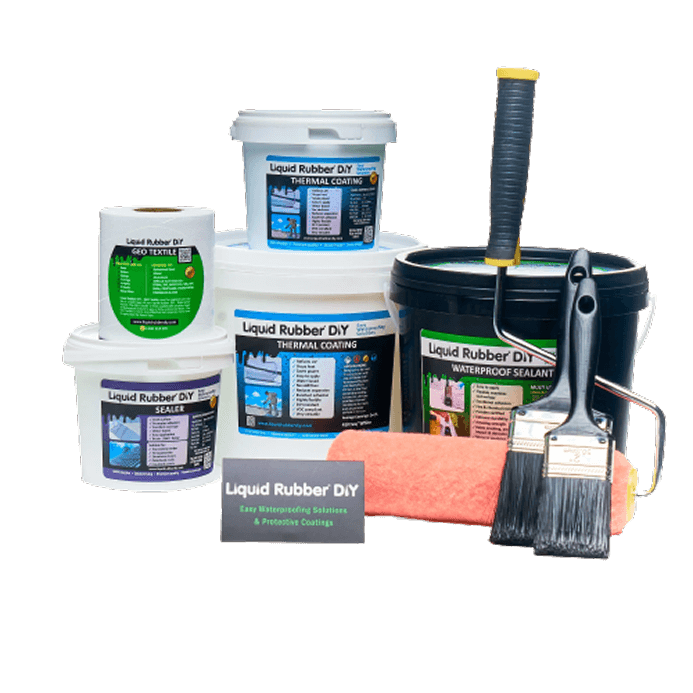
Here's all you need for your 6m long caravan:
Recommended colour: White
Recommended colour: White
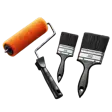
Order today and get the Brush + Roller Kit (Value $39.99) FOR FREE


See what our customers say about their caravan roof waterproofing projects
I love this product its so good now my caravan roof is completely sealed and water proof I highly recommend this to anyone who wants to make sure your van does not leak
I used liquid rubber to repair my leaky caravan roof and it's worked a treat. Easy to use and a great product. Highly recommend it. 😊
I love this product its so good now my caravan roof is completely sealed and water proof I highly recommend this to anyone who wants to make sure your van does not leak
The kit has everything you need to do the job but had to buy a bit more of the mesh. Have done up to the reflective paint stage but should get that done over Xmas. Thank you for a great product.
I'd just like to thank you guys for the amazing job you did on my in-laws caravan roof. From a leaking roof to completely water tight with your amazing product. Thank you!
Product arrived quickly and turned out to be pretty easy to apply. Rang a couple of times for some advice and Aiden? spoke to me at length both times. Impressed with service and product.
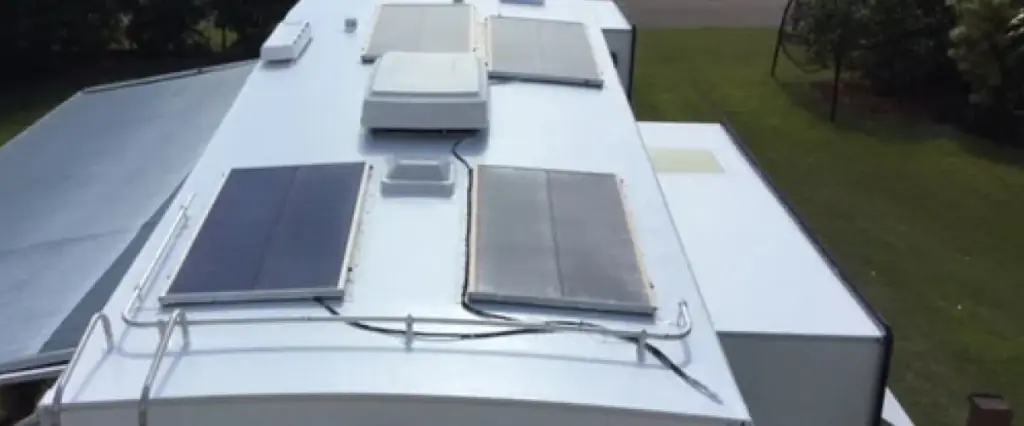
Finish with a thermal barrier that keeps your caravan cooler and protected all year round.
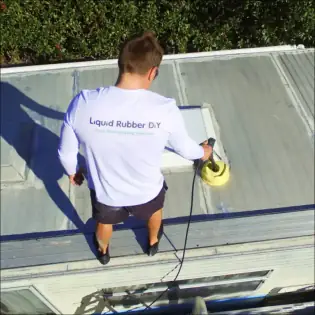
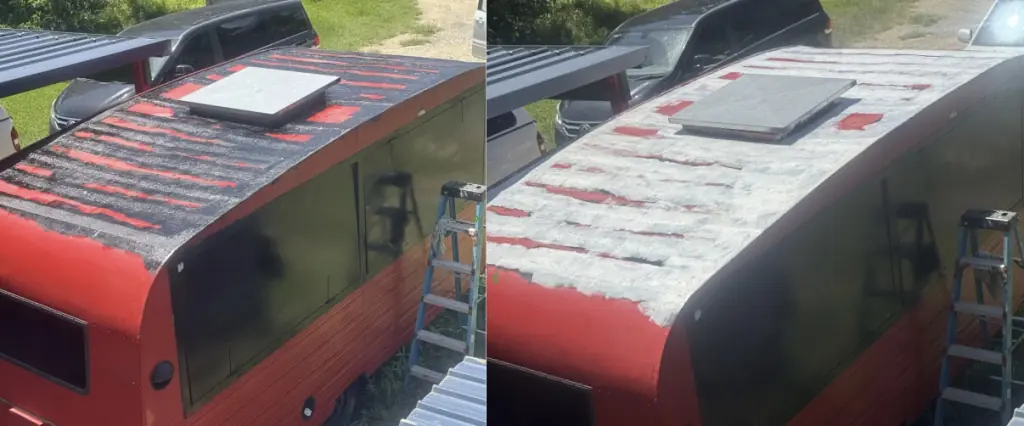
Thoroughly wash your caravan roof using a pressure washer to remove dirt, debris, and any old sealant. For best results, scrub flaky or loose areas with a wire brush to ensure the ideal surface for waterproofing.
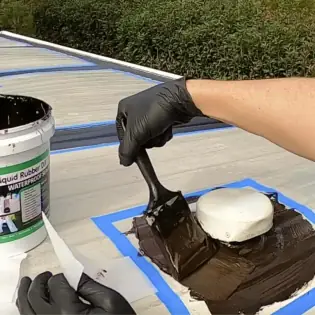
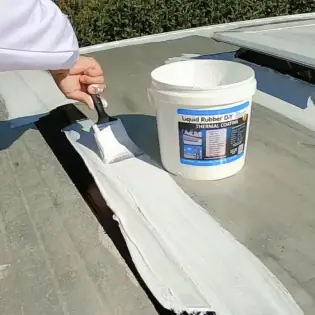
Apply Liquid Rubber to all seams, joints, and cracks on your caravan roof. For added strength, embed the included Geo-Textile fabric while the sealant is still wet. This creates a flexible, long-lasting seal.
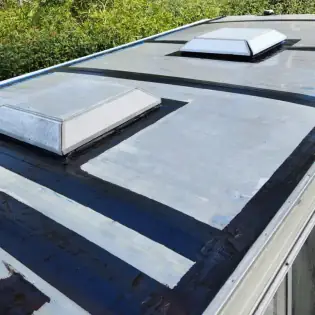
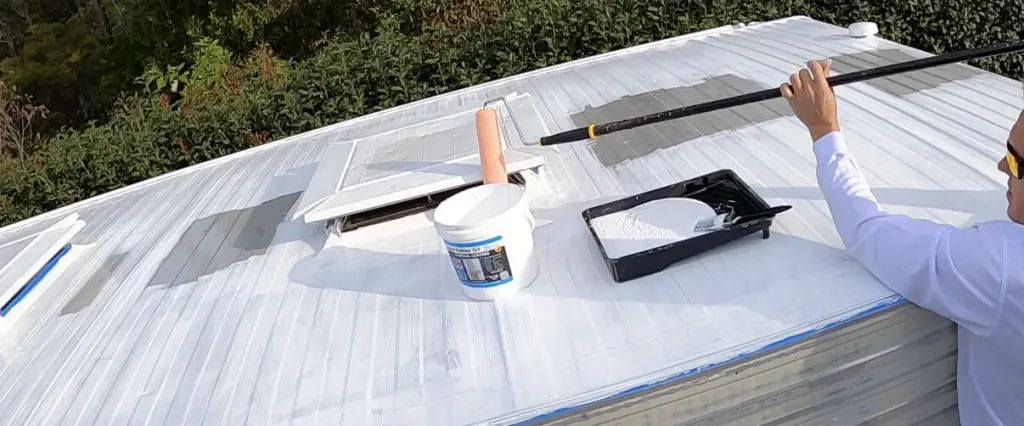
Paint on two full coats of Liquid Rubber waterproofing using a roller or brush. For extra protection in high-stress areas, add a third coat. Allow each layer to dry for 4–12 hours before recoating.
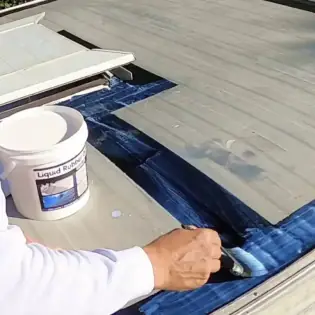
Use our Sealer/Primer for painted or aluminium roofs, or Etch Primer for bare metal surfaces. This step ensures maximum adhesion and long-term waterproofing. 💡 Tip: Use the Kit Builder below to select your roof type and get the right primer.
Wait about 2 hours for the primer to dry completely, then apply a generous layer of Liquid Rubber Thermal Coating for optimal coverage.
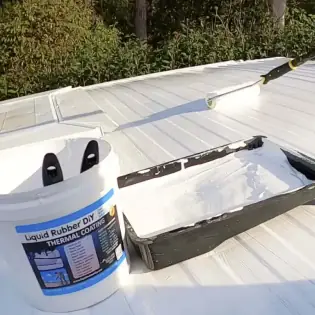
After 6–12 hours of drying, apply a second coat of thermal coating for full coverage and insulation. For high-exposure or sun-baked areas, a third coat is recommended. Use a roller or brush for even results.
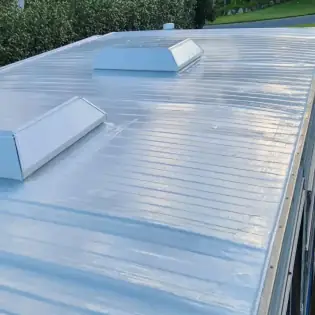
Congratulations! Your caravan roof is now sealed with Liquid Rubber, giving you a seamless, waterproof, and insulated barrier. Protected from leaks, heat, and harsh weather for years to come.
Compare Liquid Rubber DIY with conventional caravan roof coatings and sealants.
| Feature | Traditional Sealants | Liquid Rubber DIY Kit |
|---|---|---|
| Waterproofing | Prone to leaks, leaves gaps and cracks. | Fully watertight. Seals your whole roof. |
| Flexibility & Durability | Cracks or peels in heat and cold. | Remains flexible. Never cracks or peels. |
| DIY Friendly | Often tricky to use—may need a pro. | Brush or roll on. Anyone can do it. |
| UV & Weather Proof | Breaks down in sun or heavy rain. | Made for Aussie weather. Lasts for years. |
| Eco & Cost Effective | Harsh chemicals, needs frequent recoating. | Water-based, non-toxic. Saves money. |
| Adhesion & Maintenance | Doesn’t stick well, repairs common. | Sticks to any roof. Low maintenance. |
Traditional
Prone to leaks, leaves gaps and cracks.
DIY Kit
Fully watertight. Seals your whole roof.
Traditional
Cracks or peels in heat and cold.
DIY Kit
Remains flexible. Never cracks or peels.
Traditional
Often tricky to use—may need a pro.
DIY Kit
Brush or roll on. Anyone can do it.
Traditional
Breaks down in sun or heavy rain.
DIY Kit
Made for Aussie weather. Lasts for years.
Traditional
Harsh chemicals, needs frequent recoating.
DIY Kit
Water-based, non-toxic. Saves money.
Traditional
Doesn’t stick well, repairs common.
DIY Kit
Sticks to any roof. Low maintenance.
Liquid rubber technology has been around for over 50 years, with early liquid-applied membranes dating even back to the 1960s.
Liquid rubber can stretch up to 1800% without cracking, then shrink back to the same size and restore itself after movement.
NASA Connection – The Liquid Rubber Formulations is inspired by elastomeric coatings designed for aerospace and extreme environments.
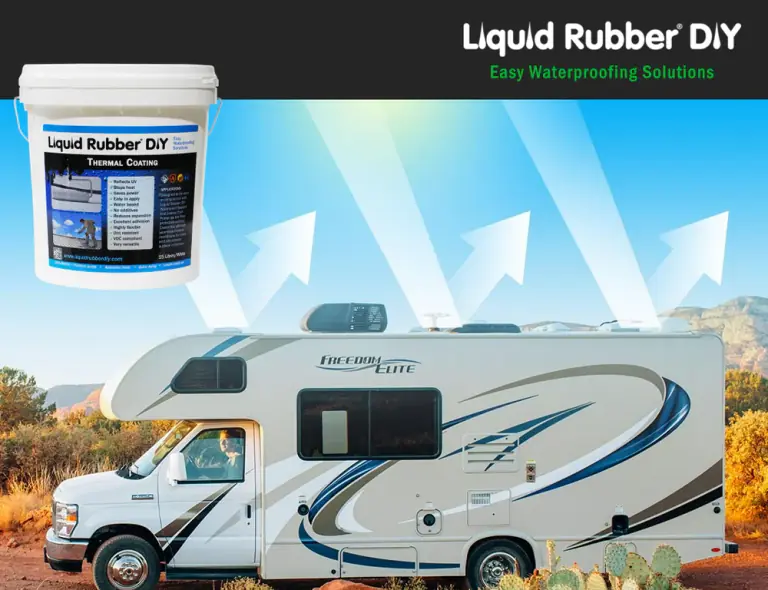
Liquid Rubber thermal coating is engineered for Australian caravan roofs. Reflects heat, blocks UV rays, reduces inside temperatures, and keeps your caravan cooler in every season.
Reduce heat, save on energy, and extend the life of your caravan roof.
For the best waterproofing results, apply Liquid Rubber to a clean and dry caravan roof. Remove old roof coatings, silicone, or loose materials before starting. This ensures maximum adhesion and long-term leak protection for your caravan.
Applying Liquid Rubber DIY waterproofing is simple. You only need a paintbrush or roller (included in our kits). Basic safety gear such as gloves is recommended, and keep a cleaning agent handy for spills or cleaning your tools.
To ensure your caravan roof stays fully waterproof, apply 2-3 coats of Liquid Rubber sealant directly to the clean and dry surface. Then apply one coat of primer over the rubber and the remaining roof area, followed by 3 coats of thermal coating over the waterproofed area and 2 coats over the remaining roof area for the best UV protection and heat reflection. The product amounts in our kit builder are calculated to be sufficient for up to 3 coats.
Allow the waterproof sealant to cure for 4-12 hours between coats and be fully cured within 72 hours for a strong, weatherproof bond. The primer cures in 2-4 hours before the thermal coating can be applied. For the thermal coating, wait 6-12 hours between coats. When in doubt, 1 coat a day keeps problems away.
Yes, Liquid Rubber is designed for use on all common caravan roof types found in Australia, including metal, aluminium, fibreglass, vinyl, PVC, EPDM rubber, and TPO. Our formula provides safe, reliable waterproofing and long-lasting results for every roof.
For best results, apply Liquid Rubber when the weather is dry and mild. Avoid application if rain, dew, or strong wind is expected within 24 hours. This helps your new caravan roof coating cure properly and prevents moisture from interfering with adhesion.
We offer fast shipping Australia-wide. Orders typically arrive within 3 to 8 business days. Local pickup is also available at 1 Conway Court, Nerang, Gold Coast, QLD 4211.
The Waterproof Sealant appears brown when wet but turns black when fully cured. If you want a coloured finish, we recommend applying a primer on top of the cured sealant, followed by a top coat in your chosen colour. This approach ensures both waterproofing protection and creates enhanced UV resistance and provides longevity.
Get everything you need: step-by-step application guide, technical data sheets, and safety information for all products included in your kit.
APPLICATION GUIDE
CARAVAN ROOFS
