Fix Roof Leaks Fast: The 3-Step Liquid Rubber Solution That Actually Works
Roof leaks can cause serious damage to your home and cost thousands in repairs. Whether you're dealing with existing leaks or want to prevent future problems, learning how to properly fix roof leaks is essential for protecting your investment and maintaining a comfortable home.
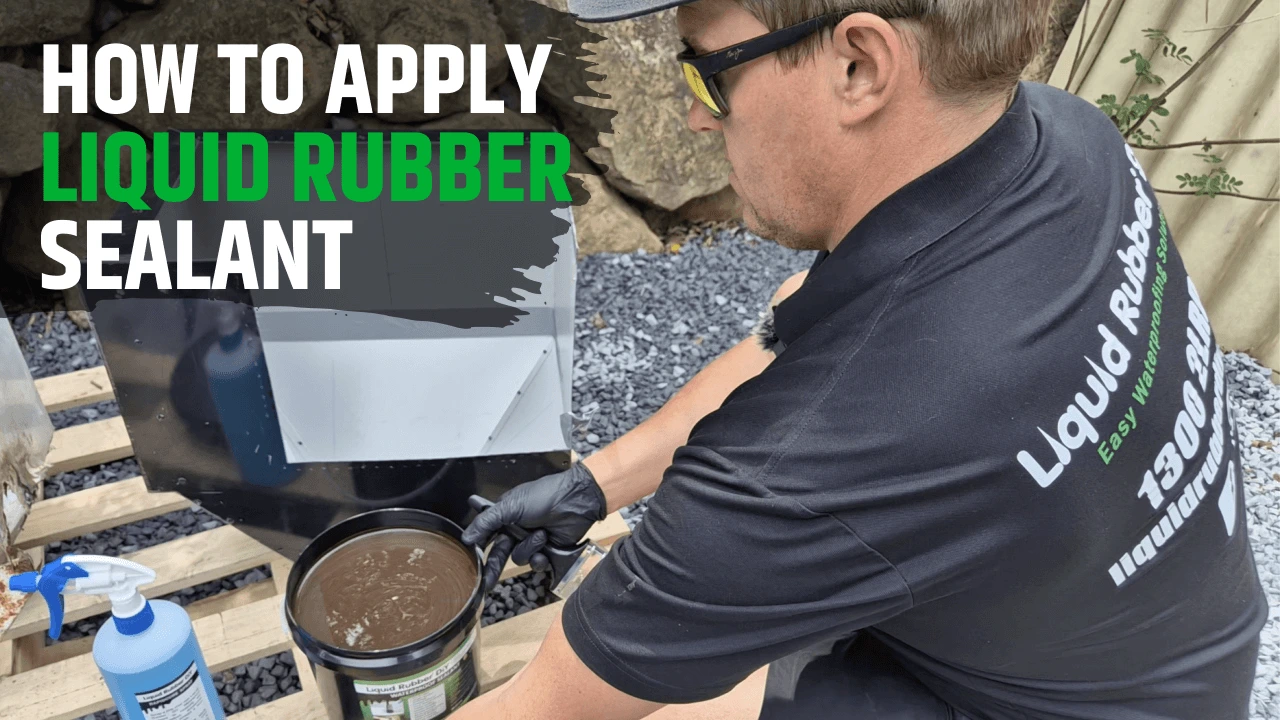
The 3-step Liquid Rubber system has helped thousands of homeowners fix roof leaks effectively. This method doesn't require fancy tools or complicated techniques – just three straightforward steps that create a durable seal against rain, wind, and harsh weather conditions.
Watch the 3-Step Process in Action
See exactly how to fix roof leaks with Liquid Rubber step-by-step
Click to watch the full tutorial
Why This Method Works (And Others Don't)
Most people try to patch leaks with cheap sealants or silicone, but these temporary fixes often fail quickly. The 3-step Liquid Rubber system creates a flexible, durable membrane that moves with your roof and actually gets stronger over time.
The 3-Step Liquid Rubber Roof Leak Fix
Here's the proven process used to fix thousands of roof leaks. Follow these steps in order, and you'll have a leak-free roof that lasts for years.
Clean the Surface
Proper surface preparation is essential for a successful repair. You can't apply sealant to a dirty roof and expect it to stick properly. Here's what needs to be done:
- Pressure wash the entire area – Remove dirt, moss, old sealant, and any debris from the roof surface
- Scrape off loose paint and rust – Use a wire brush or scraper to remove anything that's not firmly attached
- Let it dry completely – This is crucial. Any moisture will prevent the Liquid Rubber from bonding properly
Important: If you're dealing with a metal roof, make sure to remove all rust. The Liquid Rubber will prevent future rust, but it won't adhere to existing rust.
Apply Liquid Rubber & Embed Geo-Textile
This step creates a flexible, reinforced membrane that will last for years. You're not just sealing the leak – you're building a durable waterproof barrier using the "Rubber - GEO Textile - Rubber" method.
- Apply first coat of Liquid Rubber – Use a brush or roller to apply a generous coat over the problem area. Ensure good coverage for maximum effectiveness
- Embed Geo-Textile immediately – This is the key component. As soon as you finish the first coat, press the Geo-Textile fabric into the wet Liquid Rubber. You only have a few minutes before it starts to set
- Apply second coat of Liquid Rubber – Once the Geo-Textile is embedded, apply another layer of Liquid Rubber on top to completely cover the fabric
Why Geo-Textile? Think of it like rebar in concrete. The Liquid Rubber is flexible and waterproof, but the Geo-Textile provides incredible tensile strength. Together, they create a seal that can handle expansion, contraction, and even small movements in your roof.
Spray Rapid Cure for Instant Protection (Optional but Recommended)
This final step is optional but highly recommended for immediate protection. Usually, we recommend applying the rubber kit 24 hours before any rain is forecasted, but to ensure the sealant application is sound, apply the Rapid Cure spray anyway.
- Spray Rapid Cure immediately – As soon as you've completed the second coat of Liquid Rubber, spray the Rapid Cure over the entire area
- This sets the sealant instantly – Your repair is immediately protected from rain, wind, and foot traffic
- No more waiting around – You can finish this job and have it rain an hour later without any problems
Important tip: Do not apply or brush another layer of Liquid Rubber after spraying Rapid Cure. The spray will harden the brush, and you'll need to throw it away. Make sure your Liquid Rubber application is complete before using Rapid Cure.
This is the key advantage: Without Rapid Cure, you'd need to wait 24-48 hours for the Liquid Rubber to fully cure. With it, you're protected immediately. This feature has saved countless repairs from being ruined by unexpected rain.
⚠️ Common Mistakes That Will Ruin Your Repair
- Not cleaning properly – If there's dirt or old sealant, the Liquid Rubber won't stick
- Applying in the wrong weather – Don't do this in direct sunlight or when it's too cold
- Skipping the Geo-Textile – This is what makes the repair last. Don't skip it
- Forgetting Rapid Cure – Without it, your repair is vulnerable until it fully cures
Why This Method Beats Everything Else
This 3-step system offers several advantages over traditional roof repair methods:
- It's flexible – Unlike rigid sealants, Liquid Rubber moves with your roof as it expands and contracts
- It's reinforced – The Geo-Textile makes it incredibly strong and durable
- It's weatherproof immediately – Rapid Cure means you don't have to worry about rain ruining your work
- It lasts for years – Repairs done this way can last 10+ years without any issues
- It's cost-effective – One proper repair is cheaper than multiple failed attempts
What You'll Need
To do this job properly, you'll need:
-
 Liquid Rubber Waterproof Sealant
-
 Geo-Textile fabric
-
 Rapid Cure spray
-
 Paint brush or roller
Get Everything You Need in One Kit
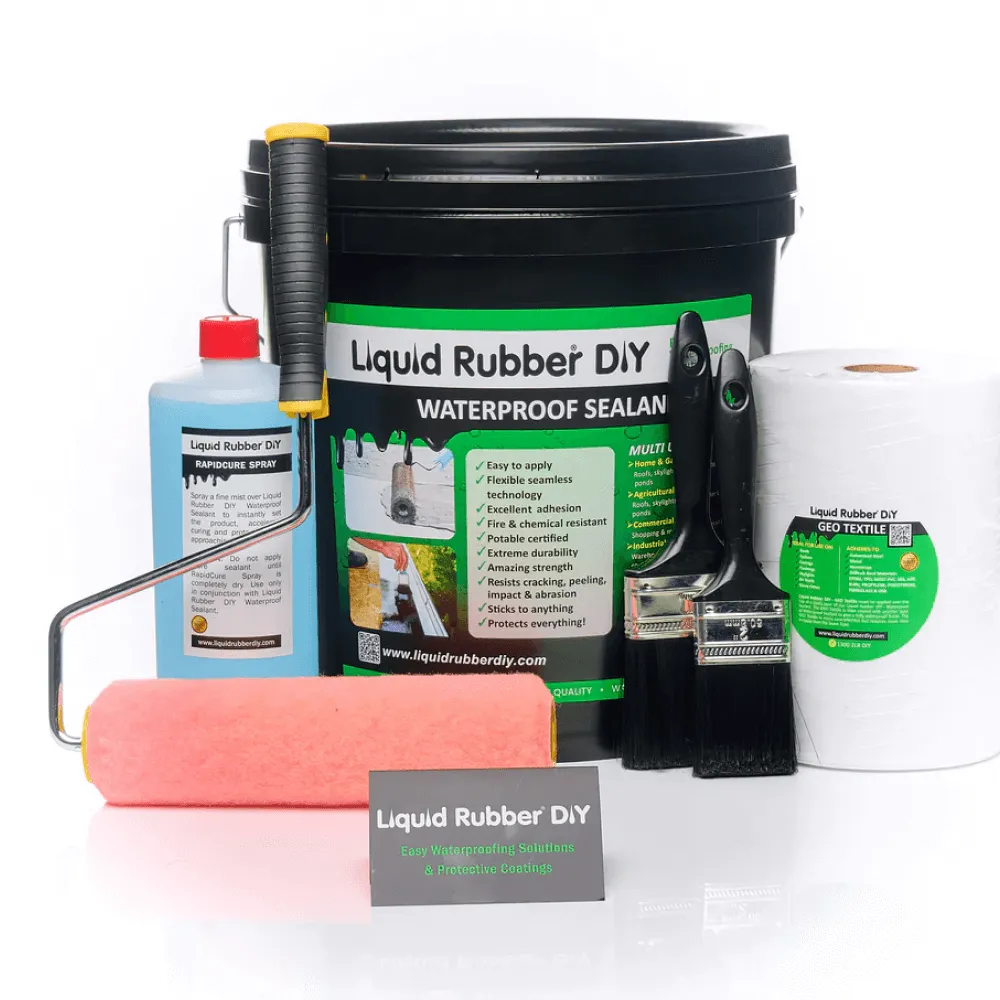
Don't waste time hunting down individual products. Our Liquid Rubber DIY Kit includes everything you need for a professional roof leak repair, plus detailed instructions and support.
When to Call a Professional
While this method works for most roof leaks, consider professional help if:
- Your roof has major structural damage
- You're not comfortable working at height
- The leak is coming from multiple areas
- You've tried this method and it didn't work (which usually means there's a bigger problem)
The Bottom Line
Roof leaks don't fix themselves, and they don't get better with time. The longer you wait, the more damage you'll have and the more expensive the repair becomes.
This 3-step Liquid Rubber method has worked for thousands of homeowners. Clean the surface, apply the Liquid Rubber with Geo-Textile, and protect it with Rapid Cure. It's that simple.
Don't let a small leak turn into a big problem. Get the right products, follow the steps, and enjoy a leak-free roof for years to come.
Frequently Asked Questions
How long will this repair last?
Done properly, this repair will last 10+ years. Repairs done this way have been known to last 15+ years without issues.
Can I do this in the rain?
No. You need a dry surface and dry weather for the initial application. But once you spray the Rapid Cure, it's protected from rain immediately.
What if I don't have a pressure washer?
A garden hose with a good nozzle will work, but a pressure washer is better. You can usually rent one for the day if you don't want to buy one.
How much Liquid Rubber do I need?
It depends on the size of the leak area. A small leak might only need a litre, while a larger area could need 5+ litres. When in doubt, get a bit more – it's better to have too much than not enough.
Can I use this method on any type of roof?
This method works on metal, concrete, and most other roof types. The key is proper surface preparation and using the right primer if needed.
Ready to Start Your Project?
Get professional-grade waterproofing products and expert support for your DIY project.