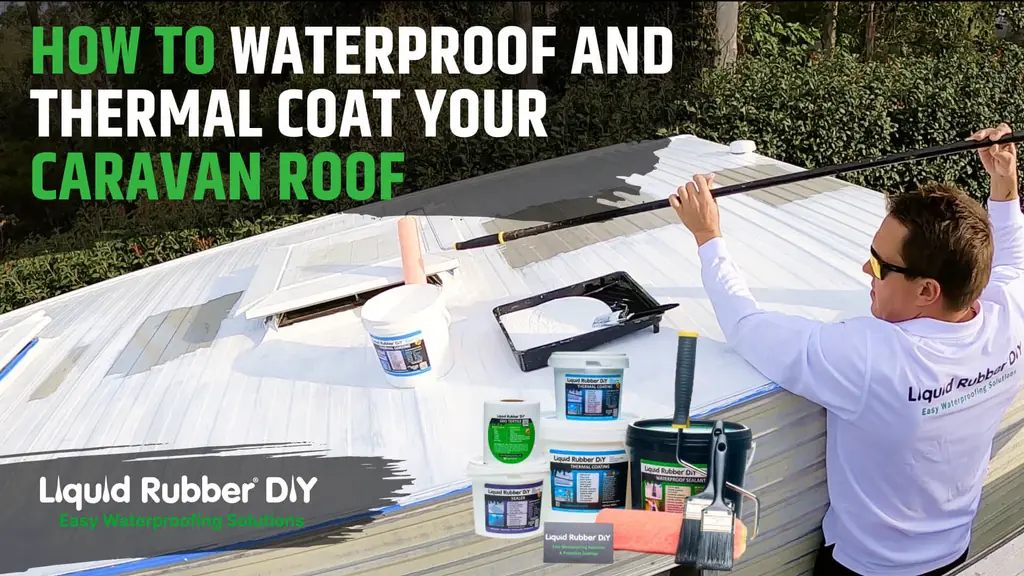
How to Waterproof Your Caravan Roof (DIY Guide to Stop Leaks)
Caravan roof leaks can quickly turn your dream road trip into a stressful (and expensive) nightmare. Whether you've noticed a small drip or you're dealing with major water damage, learning how to properly waterproof your caravan roof is one of the best ways to protect your investment, prevent costly repairs, and enjoy comfortable travels year-round.
Watch Our Complete DIY Video Guide
See exactly how to waterproof your caravan roof step-by-step
Click to watch the full tutorial
Why Do Caravan Roofs Leak?
Your caravan roof is exposed to the elements every single day, which makes it vulnerable to wear and tear. The most common causes of leaks include:
- Age and wear: Roof materials naturally deteriorate and lose their waterproofing ability over time.
- UV damage: The harsh Australian sun can crack and weaken roof materials.
- Temperature fluctuations: Expansion and contraction create gaps in seams and joints.
- Poor maintenance: Skipping inspections or cleaning allows small issues to grow.
- Installation issues: Poor sealing around vents, antennas, and roof accessories often leads to leaks.
Signs Your Caravan Roof Needs Waterproofing
Look out for these warning signs before the damage gets worse:
- Water stains on the ceiling or walls
- A musty smell inside the caravan
- Visible cracks, gaps, or peeling sealant
- Loose or damaged roof vents
- Water pooling on the roof after rain
If you've noticed one or more of these signs, it's time to take action.
DIY Guide: Waterproofing Your Caravan Roof in 7 Steps
With the right products and preparation, you can waterproof your caravan roof yourself and get professional-grade results. Here's how:
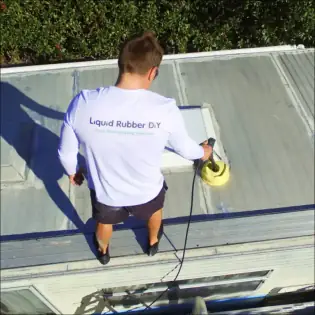
Step 1: Clean the Roof
Thoroughly wash your caravan roof with a pressure washer to remove dirt, debris, and old sealant. Use a wire brush on flaky or stubborn areas. A clean surface is the foundation for a lasting waterproof seal.
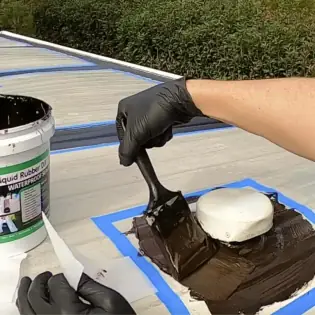
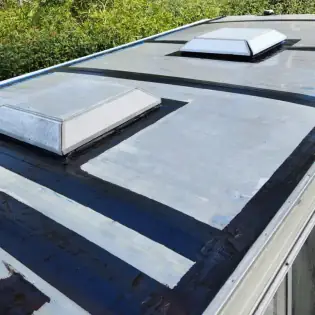
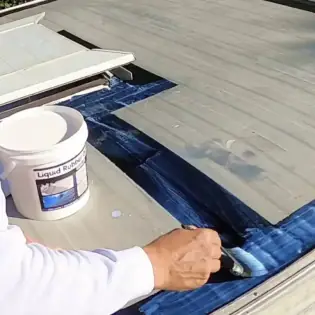
Step 2: Seal Seams, Cracks & Joints
Apply Liquid Rubber to all seams, joints, and cracks. For added durability, embed Geo-Textile fabric into the wet sealant. This reinforces weak points and creates a flexible, long-lasting seal.
Step 3: Apply the Waterproofing Coating
Use a roller or brush to apply two full coats of Liquid Rubber Waterproof Sealant. In high-stress areas, a third coat is recommended. Allow 4–12 hours of drying between coats.
Step 4: Prime the Roof (if needed)
If your caravan roof is painted or aluminium, apply a Sealer/Primer. For bare metal, use an Etch Primer. This step ensures maximum adhesion and long-term waterproofing.
💡 Tip: Use our Caravan Kit Builder to get the right primer for your specific roof type.
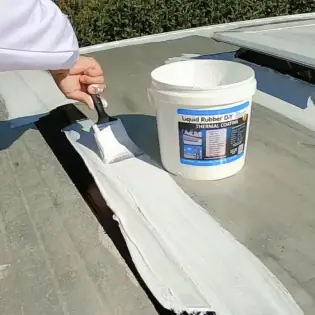
Step 5: Apply the First Thermal Coat
After about 2 hours of primer drying, roll on a thick coat of Liquid Rubber Thermal Coating. This reflects UV rays, keeps your caravan cooler, and adds an extra waterproof barrier.
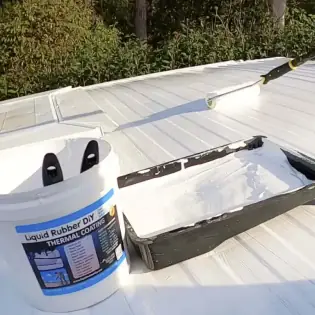
Step 6: Apply the Second Thermal Coat
Once the first coat has dried (6–12 hours), apply a second coat for full coverage. For caravans in hot, high-sun regions, consider a third coat.
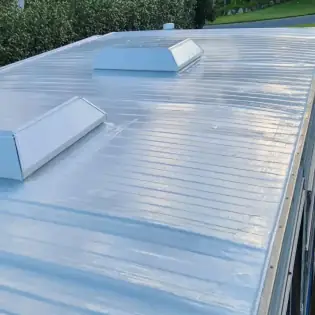
Step 7: Enjoy Leak-Free Travels
Congratulations! You've created a seamless, waterproof, and insulated barrier. Your caravan roof is now protected from leaks, heat, and harsh weather for years to come.
Choosing the Right Waterproofing Products
Not all sealants are created equal. For the best results, use products designed specifically for caravans:
- Liquid Rubber Waterproof Sealant – flexible, durable, and easy to apply
- Thermal Coating – UV-resistant and heat-reflective
- Geo-Textile Fabric – reinforces weak spots and seams
- Sealer/Primer or Etch Primer – ensures strong adhesion on metal and painted surfaces
Get Your Custom Caravan Waterproofing Kit (No Guesswork!)
Unsure how much product you need or which primer is right? Our Caravan Kit Builder makes it easy:
- Enter your caravan's length and roof type
- Automatically calculates the exact amount of product required
- Recommends the right primer
- Ensures no waste, no shortages, and professional results
👉 Build Your Custom Caravan Waterproofing Kit Here
Maintenance Tips to Prevent Future Leaks
- Inspect every 3–6 months for cracks or loose sealant
- Clean regularly to remove debris and dirt
- Repair immediately if you notice small issues
- Keep records of your maintenance for resale value
Common Mistakes to Avoid
- Not cleaning the roof properly before application
- Using household or cheap sealants not made for caravans
- Applying in the wrong weather conditions
- Rushing coats without proper drying time
- Ignoring product instructions
When to Call a Professional
While most caravan owners can handle waterproofing themselves, consider professional help if:
- There's major water damage or structural issues
- Your roof has a complex design or multiple accessories
- You're not comfortable working at height
- Your warranty requires professional servicing
Final Thoughts
Waterproofing your caravan roof isn't just about stopping leaks. It's about protecting your investment, extending the life of your caravan, and ensuring stress-free travel.
With the right products, proper preparation, and a little DIY effort, you can stop leaks before they start and enjoy a cooler, more comfortable caravan all year round.
👉 Ready to waterproof your roof? Try our Caravan Waterproofing Kit and get everything you need for a professional, DIY-friendly solution.
Frequently Asked Questions
How long does caravan roof waterproofing last?
With proper maintenance, a good waterproofing job can last 5–10 years.
Can I waterproof my caravan roof myself?
Yes! With the right products and preparation, most caravan owners can do it themselves.
What's the best time of year to waterproof a caravan roof?
Spring and autumn are ideal because mild temperatures allow coatings to cure properly.
Do I need to reapply waterproofing every year?
No. Just inspect regularly and touch up small areas if needed. Full reapplications are usually only required every few years.
Ready to Start Your Project?
Get professional-grade waterproofing products and expert support for your DIY project.